Chapati (Soft Homemade Roti)
Chapatis are thin, unleavened flatbreads made from atta flour, water and salt. They cook quickly in a dry pan and are ideal for scooping up curries, dhal and vegetable dishes. Unlike naan, chapati dough contains no yeast and needs only a short rest rather than a long rise.
This recipe makes eight soft chapatis for four people. The water is added gradually because atta flour varies in absorbency, and the dough is rested before rolling so it stretches without springing back. Clear pan cues help you cook each bread through while keeping it flexible.
What Is a Chapati?
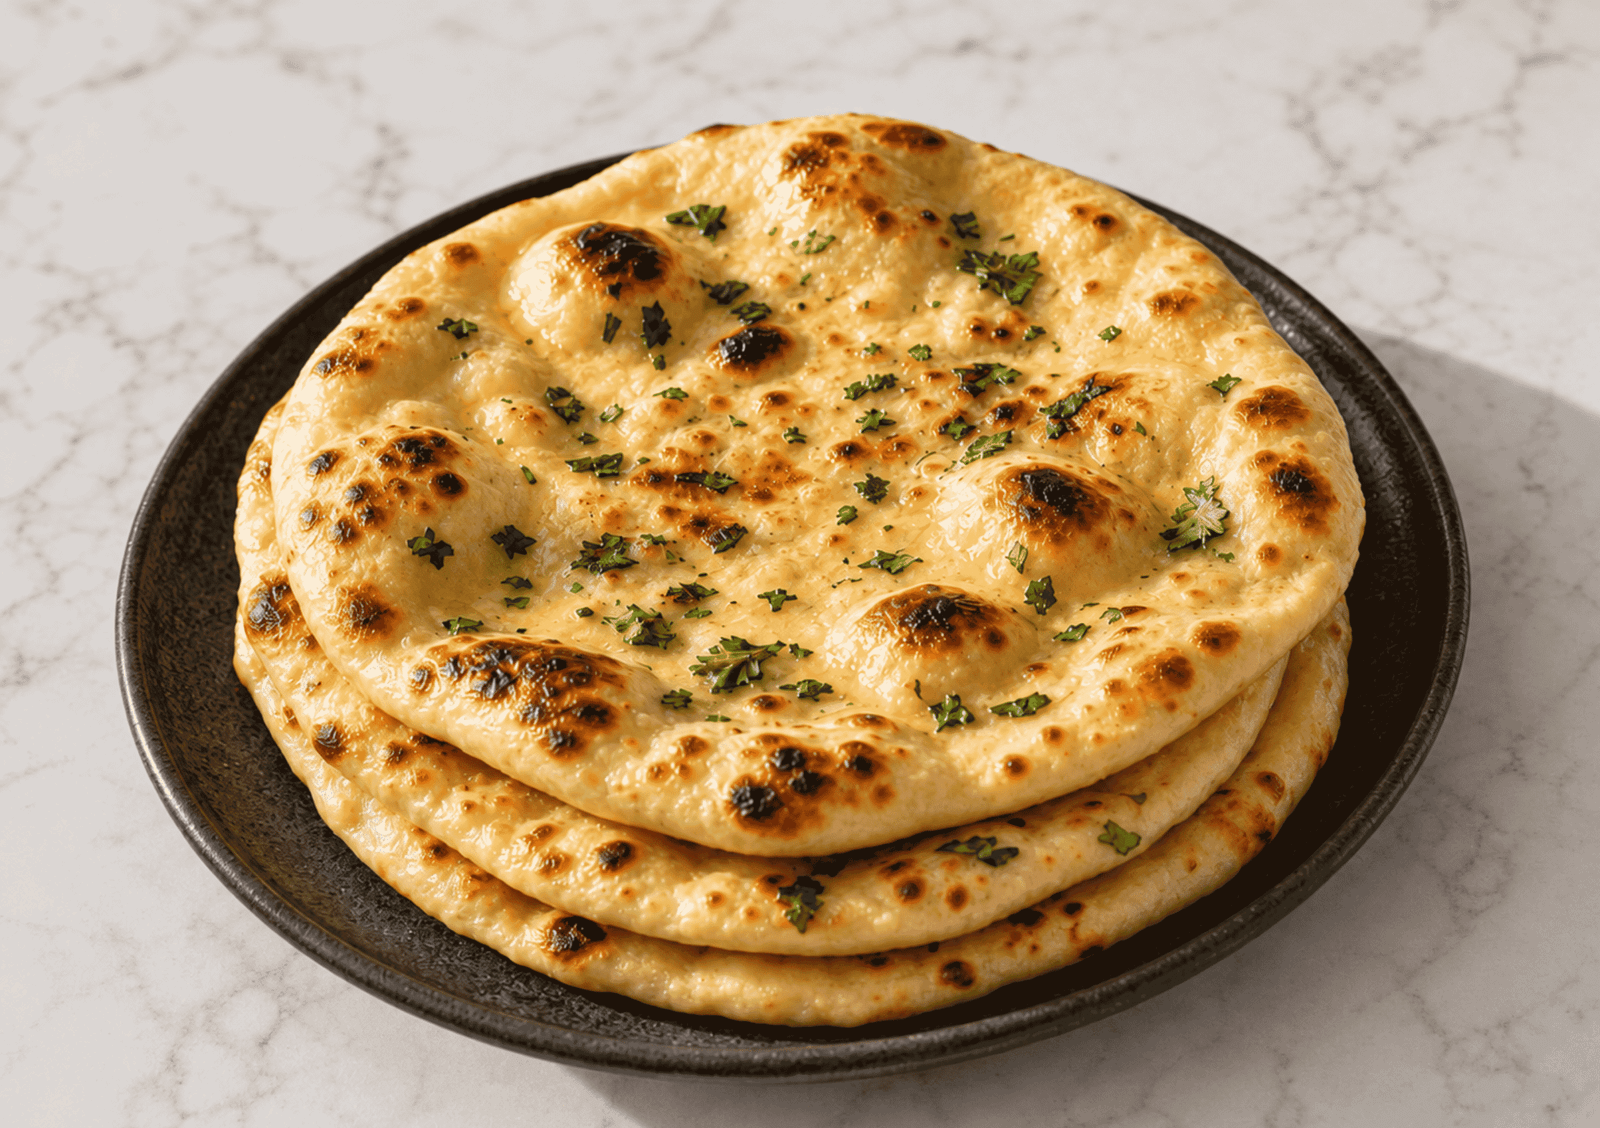
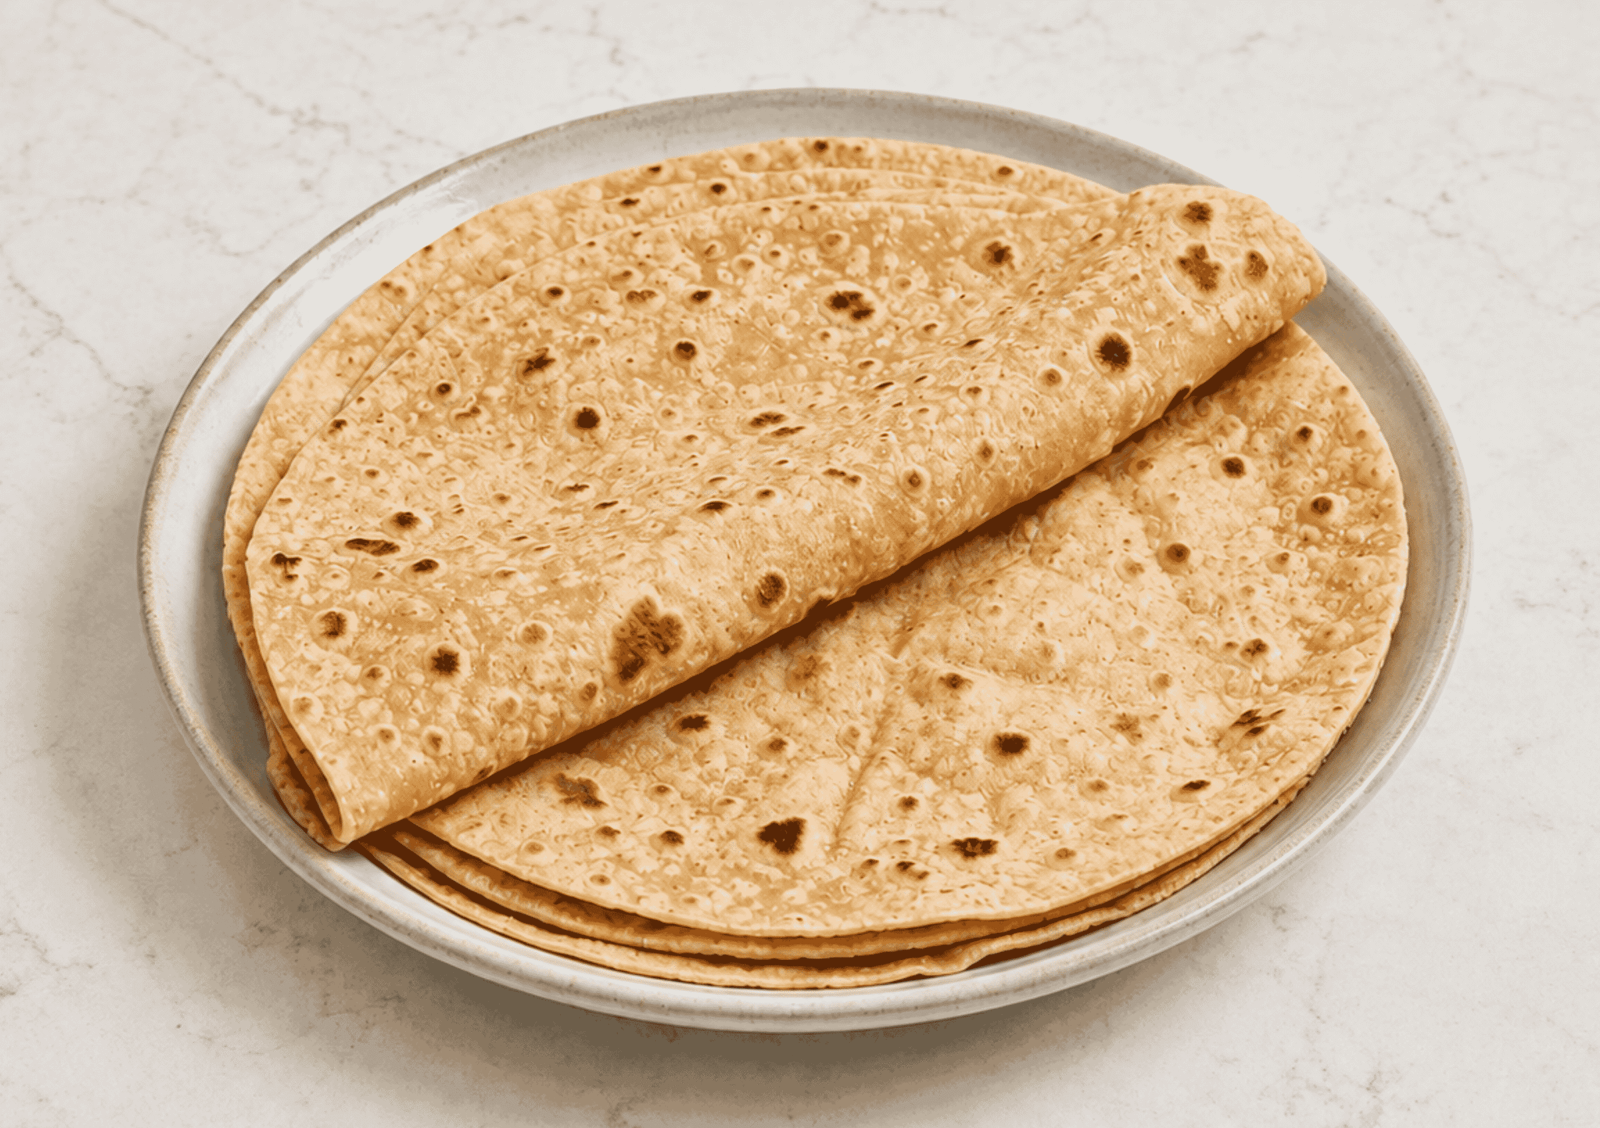
A chapati is a round, unleavened South Asian flatbread, also commonly called roti. It is made by kneading flour and water into a soft dough, rolling small portions thinly and cooking them on a hot tawa or frying pan. A chapati may puff as steam separates its upper and lower layers, although a fully inflated bread is not essential for a good result.
Chapati and roti are often used interchangeably in everyday cooking. Names and methods vary between households and regions, but the familiar version is thin, flexible and marked with small golden brown spots. It should be cooked through without becoming brittle.
Which Flour Should I Use for Chapatis?
Atta, usually sold in the UK as chapati flour, gives the most characteristic texture. It is finely milled wheat flour with enough bran to produce a warm, wheaty flavour while still rolling smoothly. Brands absorb water differently, which is why it is better to add most of the water first and adjust the final amount by feel.
Medium or brown chapati flour is a useful everyday choice. Wholemeal bread flour can work when atta is unavailable, but its coarser texture may produce a less supple dough. Plain white flour makes a softer, paler flatbread that is closer to flour roti than a standard atta chapati.
How to Make Chapatis
Mix and knead the dough until smooth, then give it time to rest before dividing. Roll each portion evenly and cook it in a thoroughly preheated, dry pan. Have a clean tea towel or covered container ready before you begin because the chapatis cook quickly and should be covered while the rest of the batch is finished. See the recipe card at the bottom for exact quantities and printable directions
Ingredients You Will Need
- Atta or chapati flour
- Fine salt
- Warm water
- Rapeseed oil, optional
- Ghee or butter for brushing, optional
Cooking Instructions
Mix the atta and salt in a large bowl. Add most of the warm water and stir with your fingers or a wooden spoon until the flour begins to form rough clumps. Add the remaining water gradually until the mixture comes together into a soft dough.
Knead until the dough feels smooth and pliable. Work in the oil near the end if using. The finished dough should yield easily when pressed but should not leave a sticky coating on your hands.
Cover the bowl and let the dough rest. This gives the flour time to absorb the water and allows the gluten to relax, making the chapatis easier to roll thinly.
Divide the rested dough evenly and shape each piece into a smooth ball. Keep the portions covered so the surfaces do not dry out.
Flatten one ball in atta and roll it into a thin round, turning it frequently and using only enough flour to prevent sticking. Brush away loose flour before cooking because excess flour burns in the pan.
Place the chapati in a hot, dry tawa or frying pan. Cook until the surface begins to change colour and small bubbles appear, then turn it. Cook the second side until brown spots develop, turn once more and press gently around the edges with a flat spatula to encourage it to puff.
Remove the chapati as soon as it is cooked and flexible. Brush with ghee if wanted and place it under a clean tea towel. Roll and cook the remaining dough in the same way, adjusting the heat if the breads colour too quickly or too slowly.
How Soft Should Chapati Dough Be?
The dough should be soft enough to indent easily with a fingertip but firm enough to hold a smooth ball. A stiff dough is difficult to roll and usually produces dry, tough chapatis. A very wet dough sticks to the worktop, demands too much dusting flour and can cook unevenly.
If the dough feels dry or cracked, wet your fingertips and continue kneading before adding more water. Small additions are easier to control than pouring in another splash. If the dough is genuinely sticky after kneading, add a light dusting of atta and work it in.
Do not judge the final texture immediately after mixing. Resting allows the flour to hydrate and often turns a slightly rough dough into a much smoother one.
Why Does Chapati Dough Need to Rest?
Resting makes the dough more extensible, so it rolls with less resistance and is less likely to shrink back. It also distributes moisture through the flour, which improves the texture of the cooked bread.
Keep the dough covered throughout the rest. An exposed surface forms a dry skin that creates hard edges and cracks during rolling. If the kitchen is warm, a covered bowl is sufficient. For a longer rest, refrigerate the dough and bring it closer to room temperature before rolling.
How Do I Roll Round Chapatis?
Begin with a smooth dough ball and flatten it into an even disc. Roll from the centre towards the edge, rotate the disc slightly and repeat. Regular turning keeps the thickness even and gradually forms a circle without forcing the edge into shape.
A perfectly round chapati is not necessary, but even thickness matters. Thick patches remain doughy while thin edges become crisp. If the dough sticks, use a small amount of atta on the worktop. Heavy dusting may make rolling easier, but the loose flour can burn and leave the chapati dry.
Roll one chapati while the previous one cooks only when you are comfortable managing both tasks. Beginners may find it easier to roll a few first and keep them separated under a lightly floured tea towel. Do not stack uncooked chapatis directly because they can stick together.
Why Are My Chapatis Not Puffing?
A chapati puffs when steam becomes trapped between two evenly cooked layers. Uneven rolling is the most common obstacle because steam escapes through thin sections before the thicker areas have cooked.
The pan may also be too cool. If the chapati sits for a long time before bubbles appear, it loses moisture and becomes firm rather than inflating. Preheat the pan properly and adjust the heat so brown spots form quickly without blackening the bread.
Turn the chapati at the right stages. Let small bubbles appear on the first side, develop brown spots on the second, then turn it back and press lightly around areas that have not inflated. Avoid pressing hard in the centre because that can force steam out through a weak point.
Even if a chapati does not inflate completely, it can still be soft and properly cooked. Partial bubbles are common and are not a reason to discard the bread.
Can I Finish Chapatis Over a Gas Flame?
A chapati can be finished briefly over a low to medium gas flame after both sides have been partially cooked in the pan. Lift it with long metal tongs, place it over the flame and turn it as soon as it inflates or develops small charred spots.
Do not place raw dough directly over the flame. The pan stage sets the structure and cooks most of the bread first. Keep loose cloths, baking paper and other flammable items away from the hob. If you are not comfortable working over an open flame, the press and puff method in the pan works on both gas and electric cookers.
Variations and Substitutions
- Without oil: Leave it out for a very simple atta and water dough. Oil makes the dough slightly easier to handle but is not essential.
- Wholemeal flour: Wholemeal bread flour can replace atta, although it may need a different amount of water and may produce a coarser chapati.
- Plain flour: Plain flour creates a paler and softer flatbread with less of the wheaty taste associated with chapati flour.
- Ghee finish: Brush the cooked breads lightly with ghee for a richer taste. Leave them unbrushed if they will be used as wraps or served with a rich curry.
- Herb chapatis: Finely chopped fresh coriander can be kneaded into the dough. Keep the pieces small so they do not tear the bread during rolling.
- Spiced chapatis: A small amount of ground cumin or ajwain can be mixed with the flour. This changes the bread from a neutral accompaniment, so use it only when it suits the meal.
Chapatis contain wheat and gluten. Gluten free flour cannot be substituted directly because gluten gives the dough the stretch needed for thin rolling and puffing.
Cooking Tips for Soft Chapatis
- Add the water gradually rather than assuming every brand of atta needs the same amount.
- Knead until the dough is smooth and pliable, then rest it while covered.
- Keep divided dough balls covered so they do not develop dry edges.
- Roll to an even thickness. This matters more than producing a perfect circle.
- Shake or brush away excess flour before placing the chapati in the pan.
- Preheat the pan and adjust the hob after the first chapati if necessary.
- Avoid overcooking. Once both sides are spotted and the bread has puffed or bubbled, remove it.
- Stack the cooked chapatis under a clean tea towel so their steam keeps them soft.
What to Serve with Chapatis
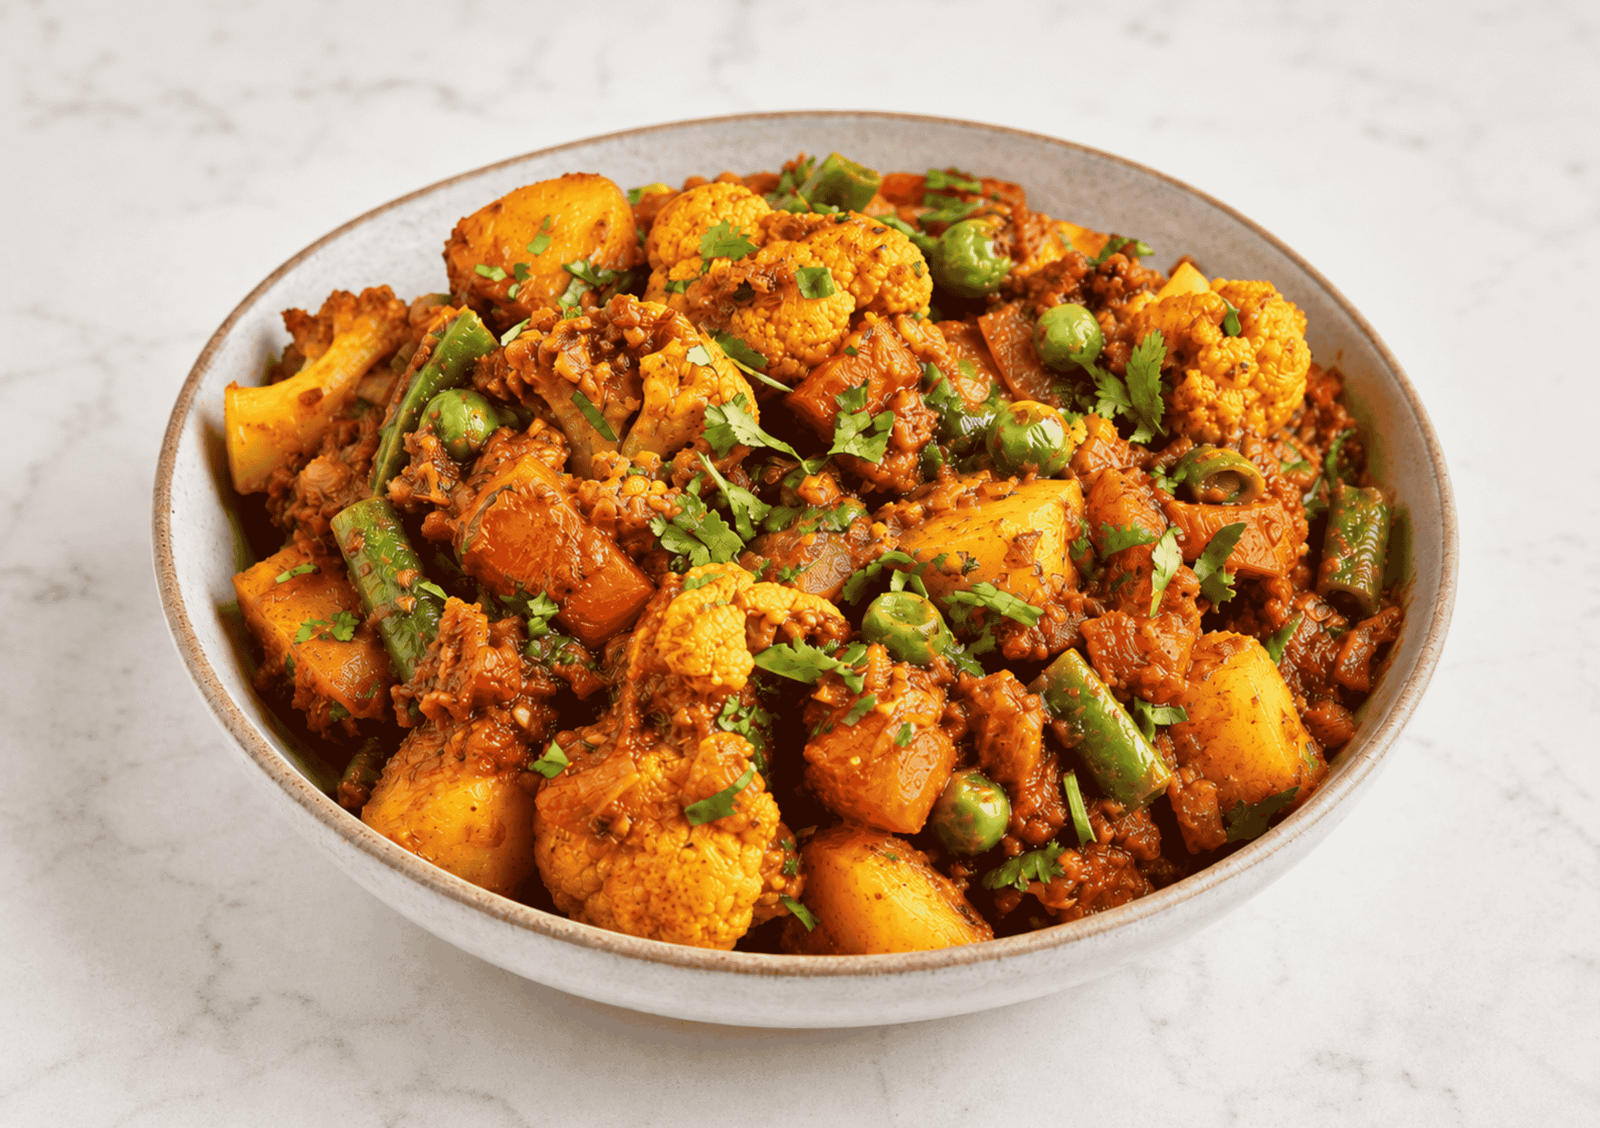
Chapatis are well suited to curries with enough sauce to scoop up. Serve them with chicken Madras, lamb bhuna, chicken saag, saag paneer or aloo gobi. They also work particularly well with tarka dhal because the bread remains light enough for a simple lentil meal.
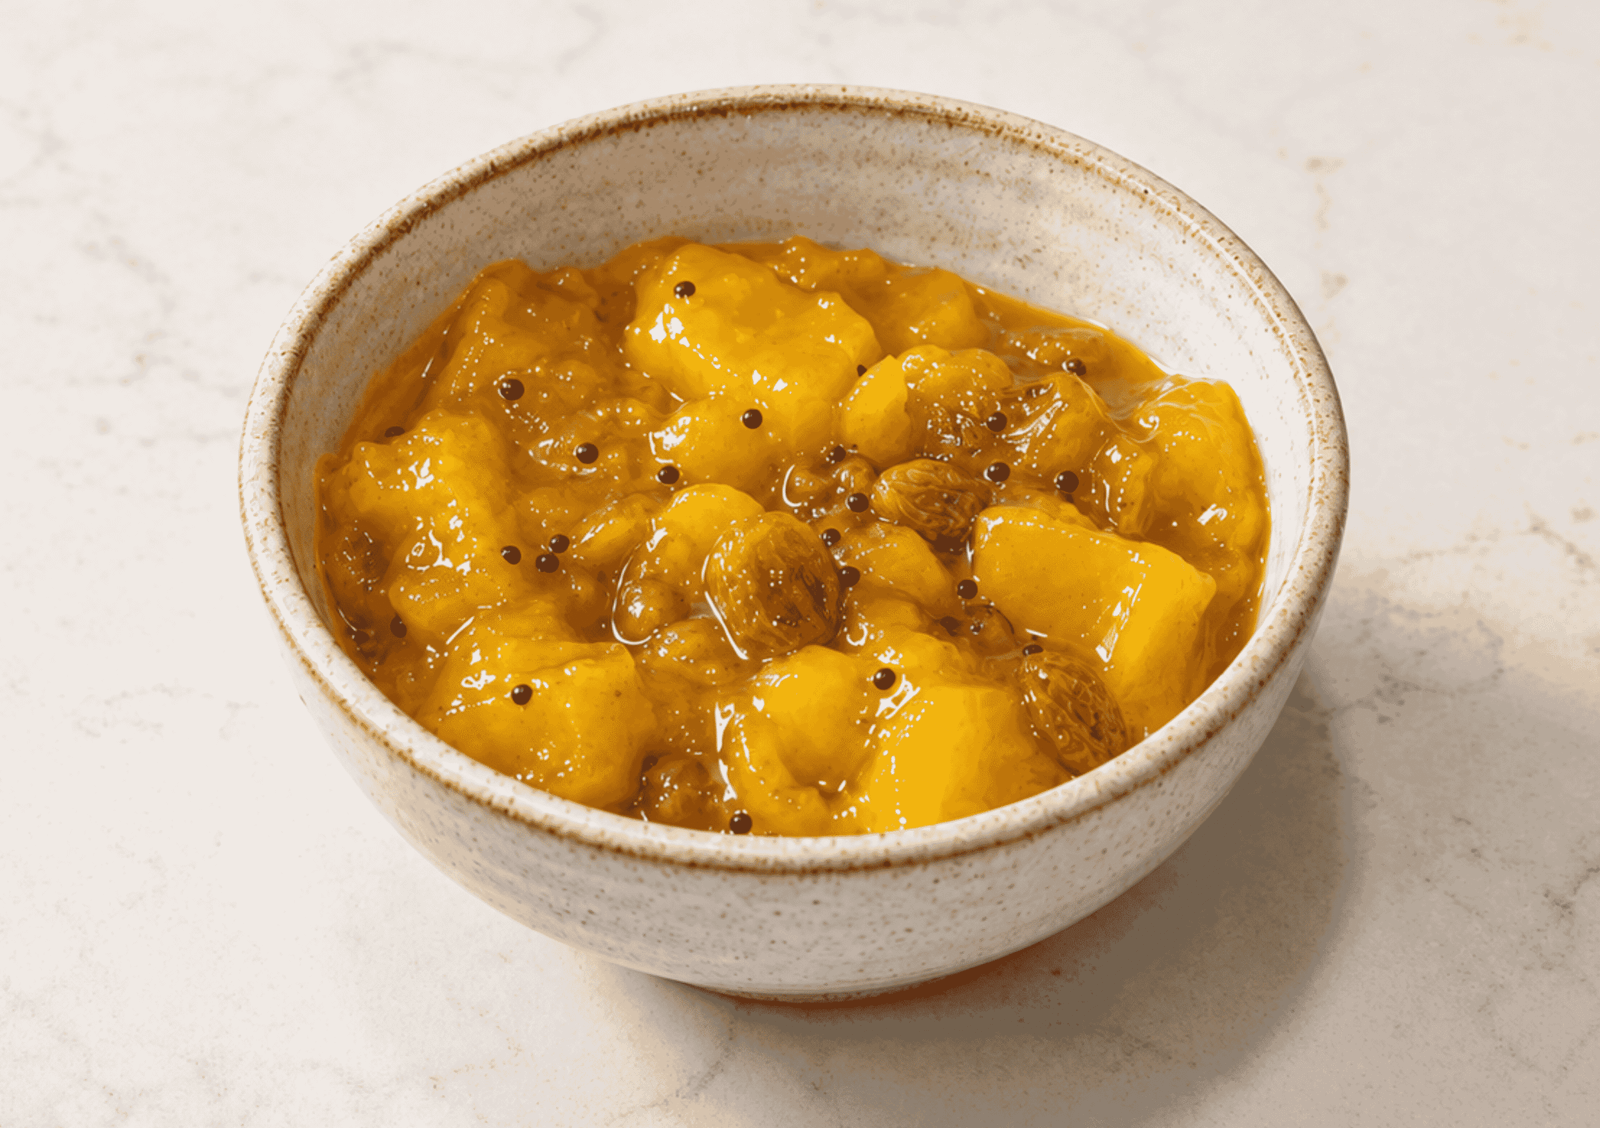
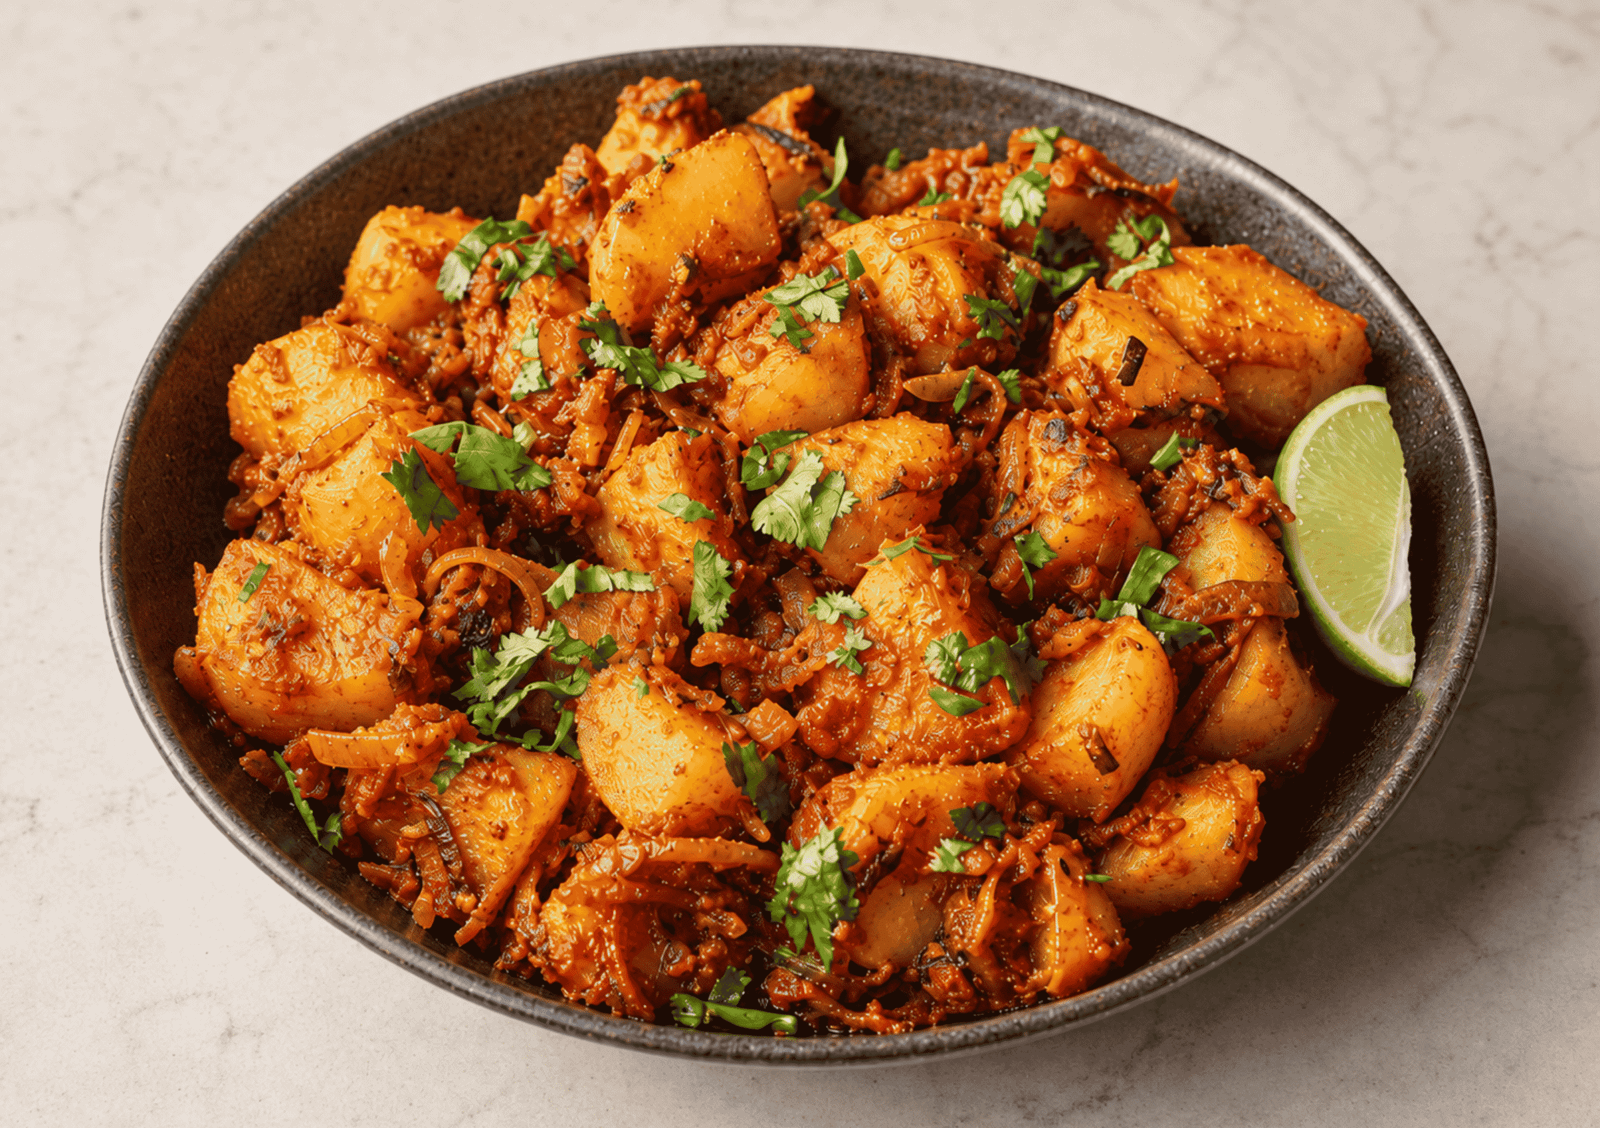
For a fuller spread, add cucumber raita, coriander and mint chutney, Bombay potatoes or red onion chutney. Chapatis can also be used as wraps for chicken tikka, paneer fry or leftover dry curry.
How to Store and Reheat Chapatis
Chapatis are softest when freshly cooked. If making them ahead, cool them completely before wrapping so trapped condensation does not make the surfaces damp. Refrigerate in a sealed bag or covered container and use within three days.
Reheat the chapatis individually in a hot, dry pan for a few seconds on each side. Alternatively, wrap the stack in a lightly dampened piece of kitchen paper and microwave in short bursts until warm and flexible. Do not overheat them because they will toughen as moisture escapes.
For longer storage, separate cooled chapatis with baking paper and freeze them in a well sealed bag for up to three months for best quality. Defrost the required number, then reheat in a pan. The dough may be made a day ahead and refrigerated in a covered container, but it should be brought towards room temperature before rolling.

Chapati Recipe (Soft Homemade Roti)
Ingredients
- 300 g atta or medium chapati flour plus about 30g for dusting
- 1/2 teaspoon fine salt
- 180 ml warm water plus up to 20ml if needed
- 1 teaspoon rapeseed oil optional
- 20 g ghee or butter for brushing optional
Instructions
- Put the atta and salt in a large bowl. Add 180ml warm water gradually, mixing with your fingers or a wooden spoon until the flour forms a rough dough. Add more water 1 teaspoon at a time only if dry flour remains.
- Knead for 7 to 8 minutes, until smooth, soft and pliable. Knead in the rapeseed oil during the final minute if using. The dough should indent easily without sticking heavily to your hands.
- Return the dough to the bowl, cover and leave it to rest at room temperature for 30 minutes.
- Divide the rested dough into 8 equal pieces and shape each one into a smooth ball. Keep the balls covered while you work.
- Preheat a dry tawa, cast iron skillet or heavy frying pan over a medium high heat for 3 to 4 minutes. Flatten one dough ball, dust it lightly with atta and roll it into a round about 18cm wide and 2mm thick. Brush away excess flour.
- Lay the chapati in the hot pan and cook for 30 to 40 seconds, until small bubbles appear and the underside has pale brown spots. Turn and cook the second side for 25 to 35 seconds, until more brown spots form.
- Turn it once more and press gently around the edge and any unpuffed areas with a flat spatula for 15 to 25 seconds. Remove when the chapati has puffed or developed several large bubbles and no raw looking patches remain.
- Brush with ghee if using and place under a clean tea towel. Roll and cook the remaining chapatis, wiping burnt flour from the pan and adjusting the heat when needed. Serve warm.