Paratha (Flaky Layered Flatbreads)
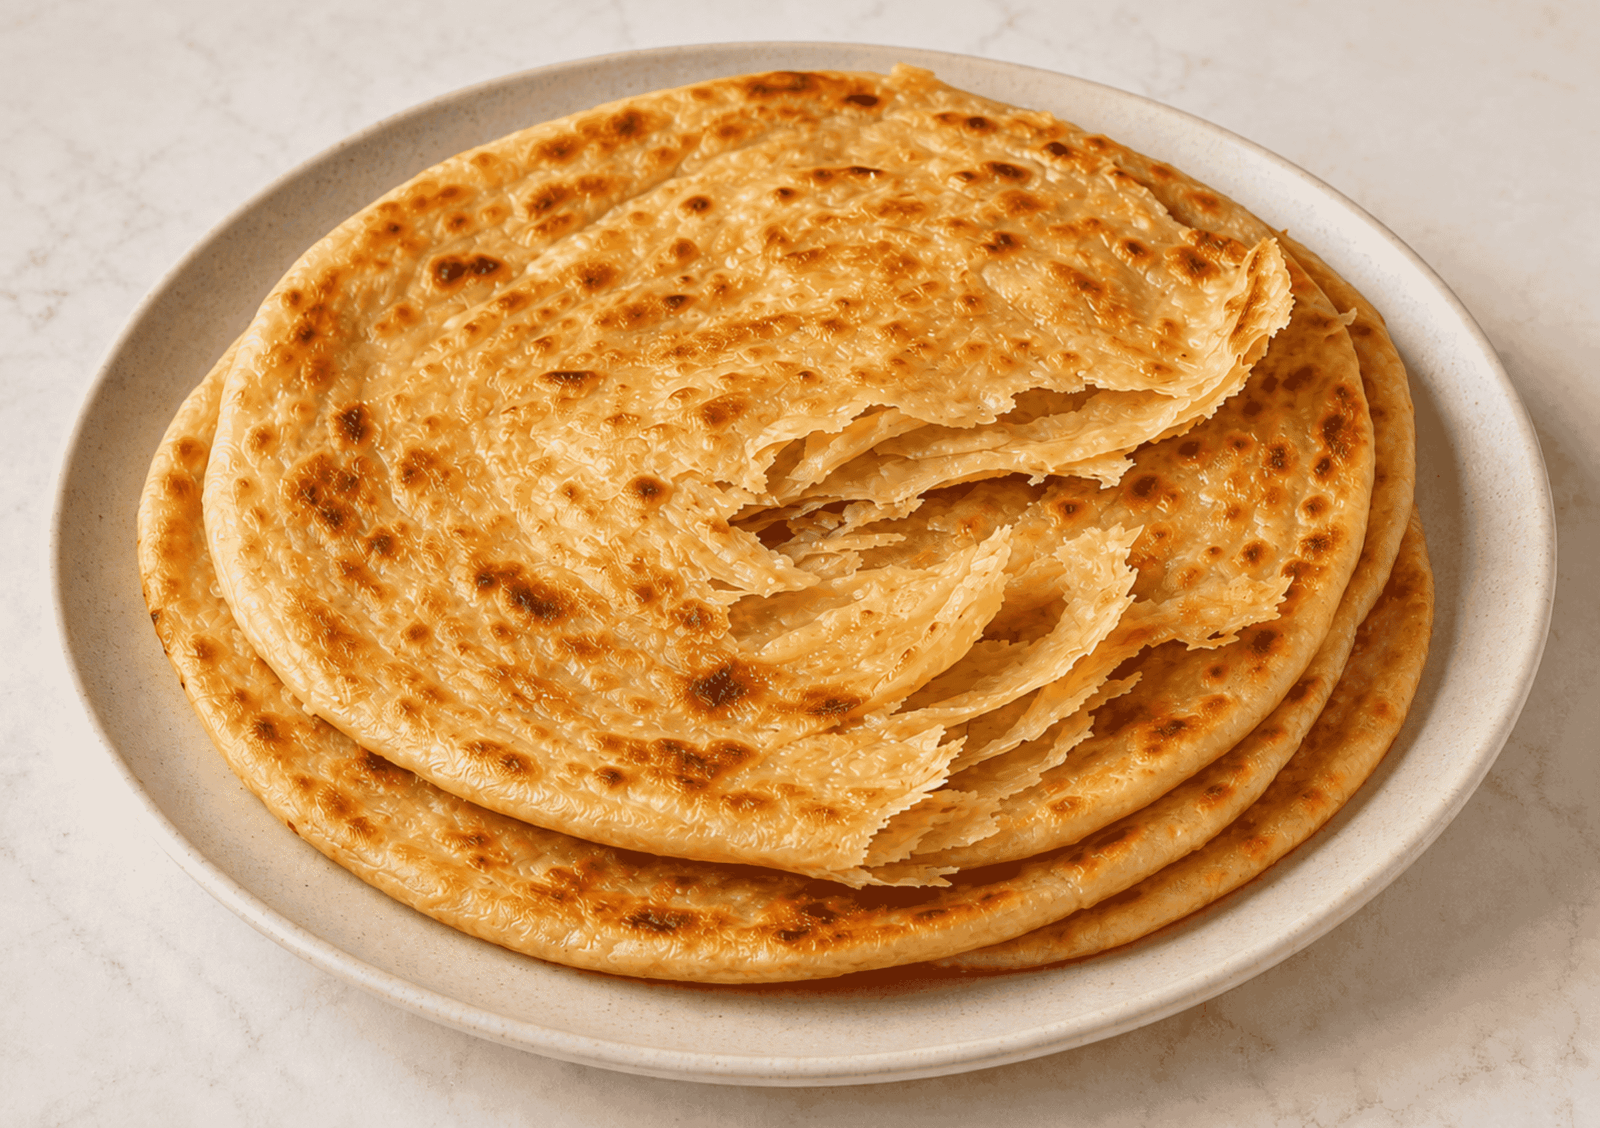
Parathas are South Asian flatbreads made without yeast, with soft centres, golden surfaces and thin layers created by folding fat into the dough. They are cooked on a hot tawa or frying pan, so there is no need for a tandoor, pizza stone or oven.
This from scratch recipe uses atta rather than prepared naan dough. The dough is rolled, brushed with ghee, folded into pleats and coiled before its final rolling. That simple lamination gives each paratha delicate layers that separate as steam forms in the pan.
The recipe makes eight parathas, enough for four people when served with curry, dhal, yoghurt or pickle. They can also be frozen and reheated directly from frozen for a quick accompaniment.
What Is a Paratha?
A paratha is a pan cooked flatbread found in many parts of the Indian subcontinent. Plain parathas are made from wheat flour, water, salt and fat. The dough may be rolled and folded to create layers, while stuffed versions can contain potato, paneer, vegetables, lentils or minced meat.
The exact flour, shape and folding technique vary between regions and households. Round, square and triangular versions are all common. This recipe produces round, layered parathas using the pleat and coil method, which creates visible spirals and plenty of thin internal layers.
Naan is a raised bread, whereas these parathas contain no yeast or raising agent. Their texture comes from kneading, resting, lamination and the steam generated during cooking.
What Is the Difference Between Paratha and Chapati?
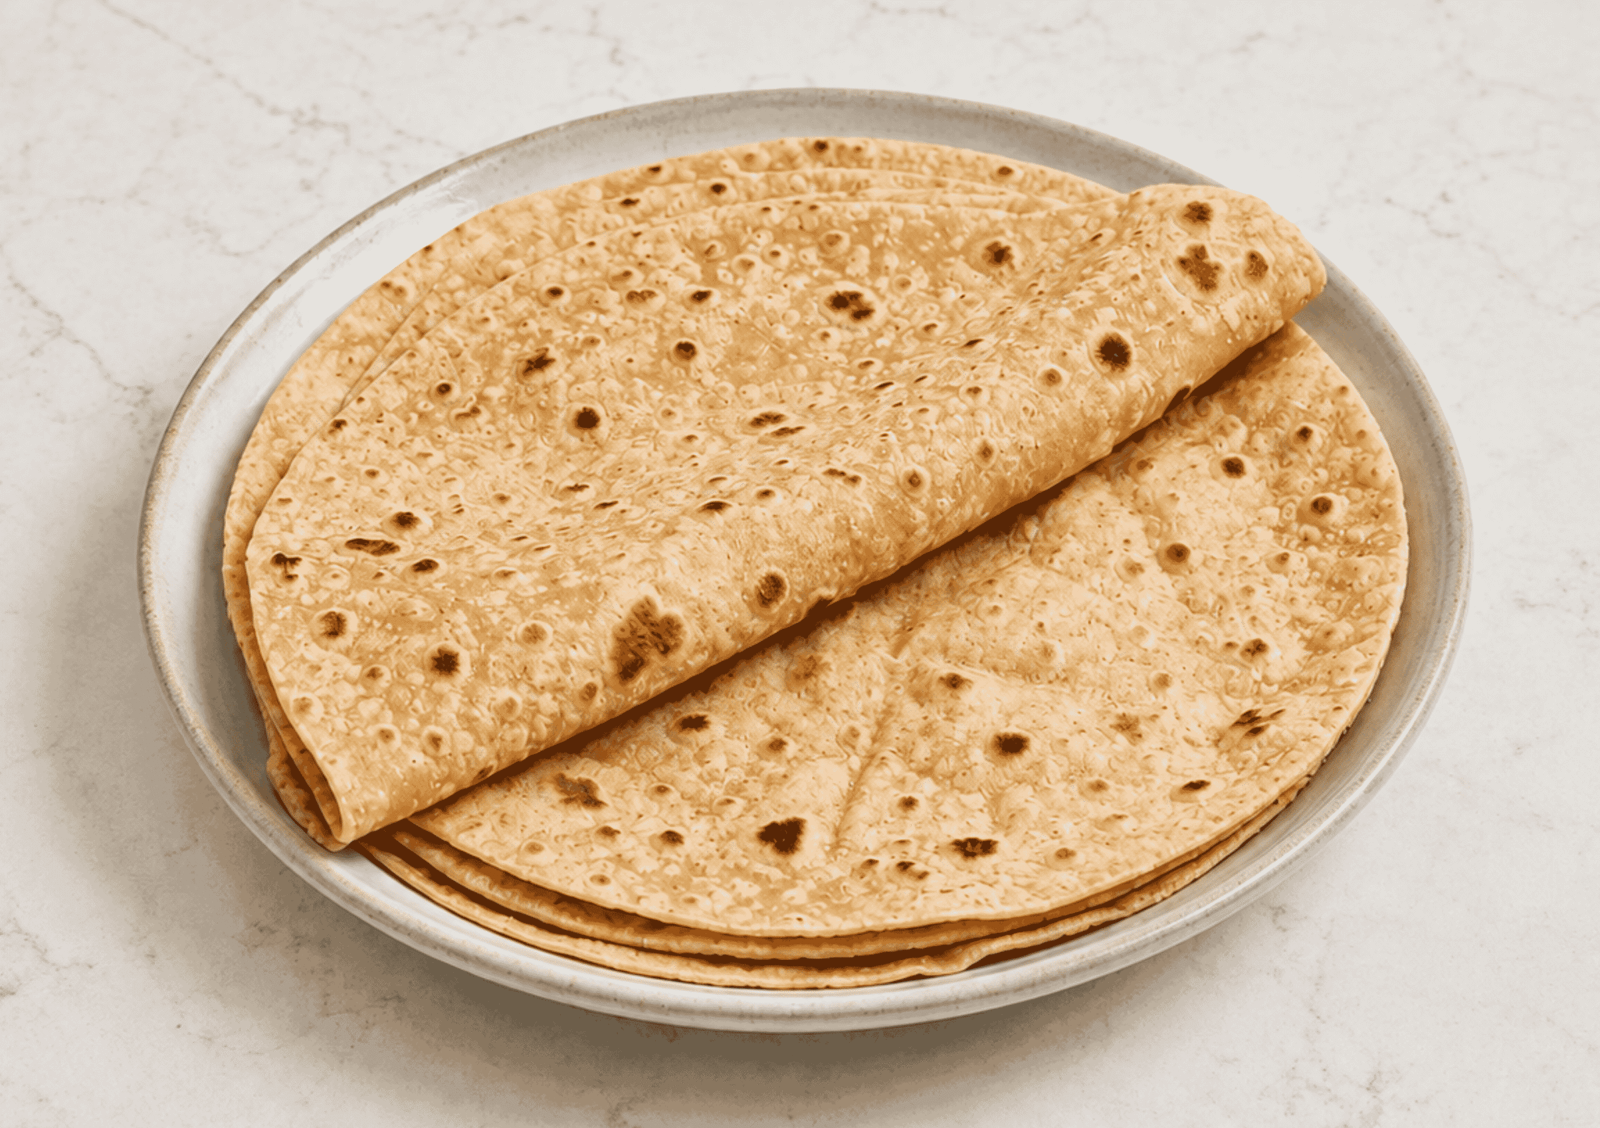
Both begin with a simple wheat dough, but they are shaped and cooked differently. Chapati is normally rolled once and cooked with little or no fat. It is thin, flexible and intended as an everyday accompaniment.
Paratha contains fat between folded sheets of dough and is cooked with additional ghee or oil. It is slightly thicker, richer and more substantial, with crisp golden patches and layers that pull apart when torn.
If you need a lighter flatbread for daily meals, chapati is the more direct choice. When you want a richer accompaniment for curry or a flatbread that can form the main part of breakfast, paratha is particularly suitable.
Which Flour Is Best for Parathas?
Indian chapati flour, usually labelled atta, is the most reliable choice. It is finely milled whole wheat flour and produces dough that is easy to knead, roll and fold. Its fine texture is important because ordinary coarse wholemeal flour can make the parathas heavy and more prone to cracking.
Medium chapati flour gives a balanced colour and wheat flavour. White chapati flour makes a paler and softer paratha, while wholemeal atta produces a more pronounced wheat flavour and slightly firmer result.
If atta is unavailable, combine strong white bread flour and fine wholemeal flour. Plain flour can also be used, but it produces a softer, paler bread with less wheat flavour. Water absorption varies between flours, so add the final amount gradually.
How Do the Layers Form?
The layers are created before the paratha reaches the pan. A thin round of dough is brushed with melted ghee and lightly dusted with flour. The flour absorbs some of the fat and helps keep the folded surfaces separate.
The disc is then folded into narrow pleats and wound into a coil. After a short rest, the coil is rolled out again. This flattens the spiral without completely joining its layers. On the hot pan, moisture in the dough turns to steam and pushes those layers apart.
Use a light hand during the final rolling. Heavy pressure can compress the coil and erase the structure you created. The uncooked paratha does not need to be perfectly round. Even thickness is more useful than a flawless outline.
How Soft Should the Dough Be?
The dough should feel soft and pliable without sticking heavily to your hands. A dry, stiff dough is difficult to roll thinly and tends to crack along the edges. Excessively wet dough requires too much dusting flour, which can dry the parathas and burn in the pan.
Add most of the water first, then work in the remainder a little at a time. Once the flour has absorbed the water, knead until the surface becomes smoother and the dough springs back slowly when pressed.
Resting is part of the dough making process. It gives the flour time to hydrate and allows the gluten to relax. A rested dough rolls with less resistance and is less likely to shrink back.
How to Make Homemade Parathas
Use a large mixing bowl for the dough and a flat tawa, cast iron pan or heavy frying pan for cooking. Melt the ghee before shaping and keep the dusting flour nearby. Shape all the coils before heating the pan so you can concentrate on cooking each paratha evenly. See the recipe card at the bottom for exact quantities and printable directions
Ingredients You Will Need
- Chapati flour or atta
- Fine salt
- Rapeseed oil
- Warm water
- Ghee
- Plain flour for dusting and layering
Cooking Instructions
Step 1: Make the dough. Mix the chapati flour and salt in a large bowl. Add the oil, then gradually mix in the warm water until no dry flour remains and a soft dough forms.
Step 2: Knead until smooth. Knead the dough on a clean surface until it becomes supple and smoother. If it feels sticky, continue kneading before adding more flour. If it feels dry, wet your hands and knead again.
Step 3: Rest the dough. Lightly coat the dough with oil, cover it and leave it at room temperature. The dough should become softer and easier to stretch.
Step 4: Divide and roll. Divide the dough into equal pieces and form each one into a smooth ball. Keep them covered, then roll the first ball into a thin round on a lightly floured surface.
Step 5: Add the lamination. Brush the surface sparingly with melted ghee and scatter over a very light dusting of plain flour. Too much of either can cause the layers to slide apart while rolling.
Step 6: Pleat and coil. Fold the round back and forth into narrow pleats. Gently stretch the strip, then wind it into a compact coil and tuck the loose end underneath. Repeat with the remaining dough.
Step 7: Rest the coils. Cover the shaped coils and leave them briefly so the dough relaxes again. This makes the final rolling easier and protects the layers from being compressed.
Step 8: Roll the parathas. Flatten one coil gently with your palm, dust it lightly and roll it into an even round. Work from the centre outwards and avoid pressing harder than necessary.
Step 9: Cook on the first side. Place the paratha on a preheated dry pan. Cook until small bubbles appear and the underside develops pale brown spots, then turn it over.
Step 10: Finish with ghee. Brush the surface lightly with ghee, turn the paratha and cook until both sides have golden patches. Transfer it to a clean tea towel, cover loosely and repeat with the remaining dough.
How Hot Should the Pan Be?
Preheat the pan over a medium high heat, then adjust it as you cook. The first side should begin bubbling within about a minute. If no bubbles appear and the dough dries before colouring, the pan is too cool. If dark spots form immediately while the middle remains raw, it is too hot.
A heavy pan gives steadier heat than a thin non stick frying pan. Cast iron and steel tawas are both suitable, but allow them enough time to heat evenly. Once several parathas have been cooked, you may need to reduce the heat slightly because the pan will retain more energy.
Brush away any loose flour between batches. Burnt dusting flour creates black patches and a bitter smell even when the paratha itself is not overcooked.
Why Are My Parathas Hard?
Hard parathas usually result from stiff dough, too much dusting flour or prolonged cooking over low heat. The dough should be soft enough to roll without cracked edges. Add water gradually during kneading and give it the full resting time before shaping.
Roll the parathas evenly rather than extremely thin. Very thin edges cook before the centre and become brittle. Use only enough flour to stop sticking, then shake off any visible excess before placing the dough on the pan.
Cook over sufficiently high heat so the layers set and colour before too much moisture is lost. Once cooked, stack the parathas under a clean tea towel. The trapped warmth softens the surfaces while still allowing some steam to escape.
Why Are the Layers Not Separating?
The ghee layer may have been too thin, or the dough may have been rolled too firmly after coiling. Brush the entire first round with a light, even film of ghee and add a small amount of flour before pleating.
Make the pleats narrow and consistent. A loose coil with large gaps can unravel, while an excessively tight coil becomes difficult to flatten. Tuck the final end underneath so the spiral remains secure during its rest.
After cooking, clap the warm paratha gently between your hands or press its edges towards the centre with clean hands or two spatulas. This loosens the layers. Protect your hands from steam and do not attempt it while the bread is too hot to handle safely.
Can I Use Oil Instead of Ghee?
Yes. A neutral oil such as rapeseed oil can be used for both lamination and cooking. The layers will still form, although the paratha will not have the same buttery aroma.
Do not use extra virgin olive oil for this recipe because its strong flavour changes the character of the bread. Melted butter can replace ghee, but its milk solids brown faster, so keep a close watch on the pan temperature.
For a vegan paratha, use rapeseed oil throughout. The amount needed may be slightly lower because oil remains fully liquid at room temperature.
Variations and Substitutions
- Add ajwain seeds to the flour for a warm, herbal flavour.
- Mix finely chopped coriander into the dough for a fresh green paratha.
- Sprinkle a small amount of ground cumin or chilli powder over the ghee before pleating.
- Use white chapati flour for a softer, paler result.
- Replace part of the atta with plain flour if your wholemeal flour is especially coarse.
- Form square parathas by folding the first rolled disc into thirds in both directions instead of pleating and coiling it.
- For stuffed parathas, use a recipe designed for the chosen filling because the shaping and dough thickness need to change.
Cooking Tips
- Add the water gradually because different brands of atta absorb different amounts.
- Knead before deciding that the dough needs more flour. Stickiness often reduces as the flour hydrates.
- Keep unused dough and shaped coils covered so their surfaces do not dry.
- Use melted ghee sparingly during lamination to prevent the coil from sliding while rolling.
- Rest the coiled dough before its final rolling.
- Roll from the centre towards the edge with gentle, even pressure.
- Preheat the pan fully before cooking the first paratha.
- Clear burnt flour from the pan between batches.
- Keep cooked parathas loosely covered rather than sealing them while they are releasing steam.
What to Serve with Parathas
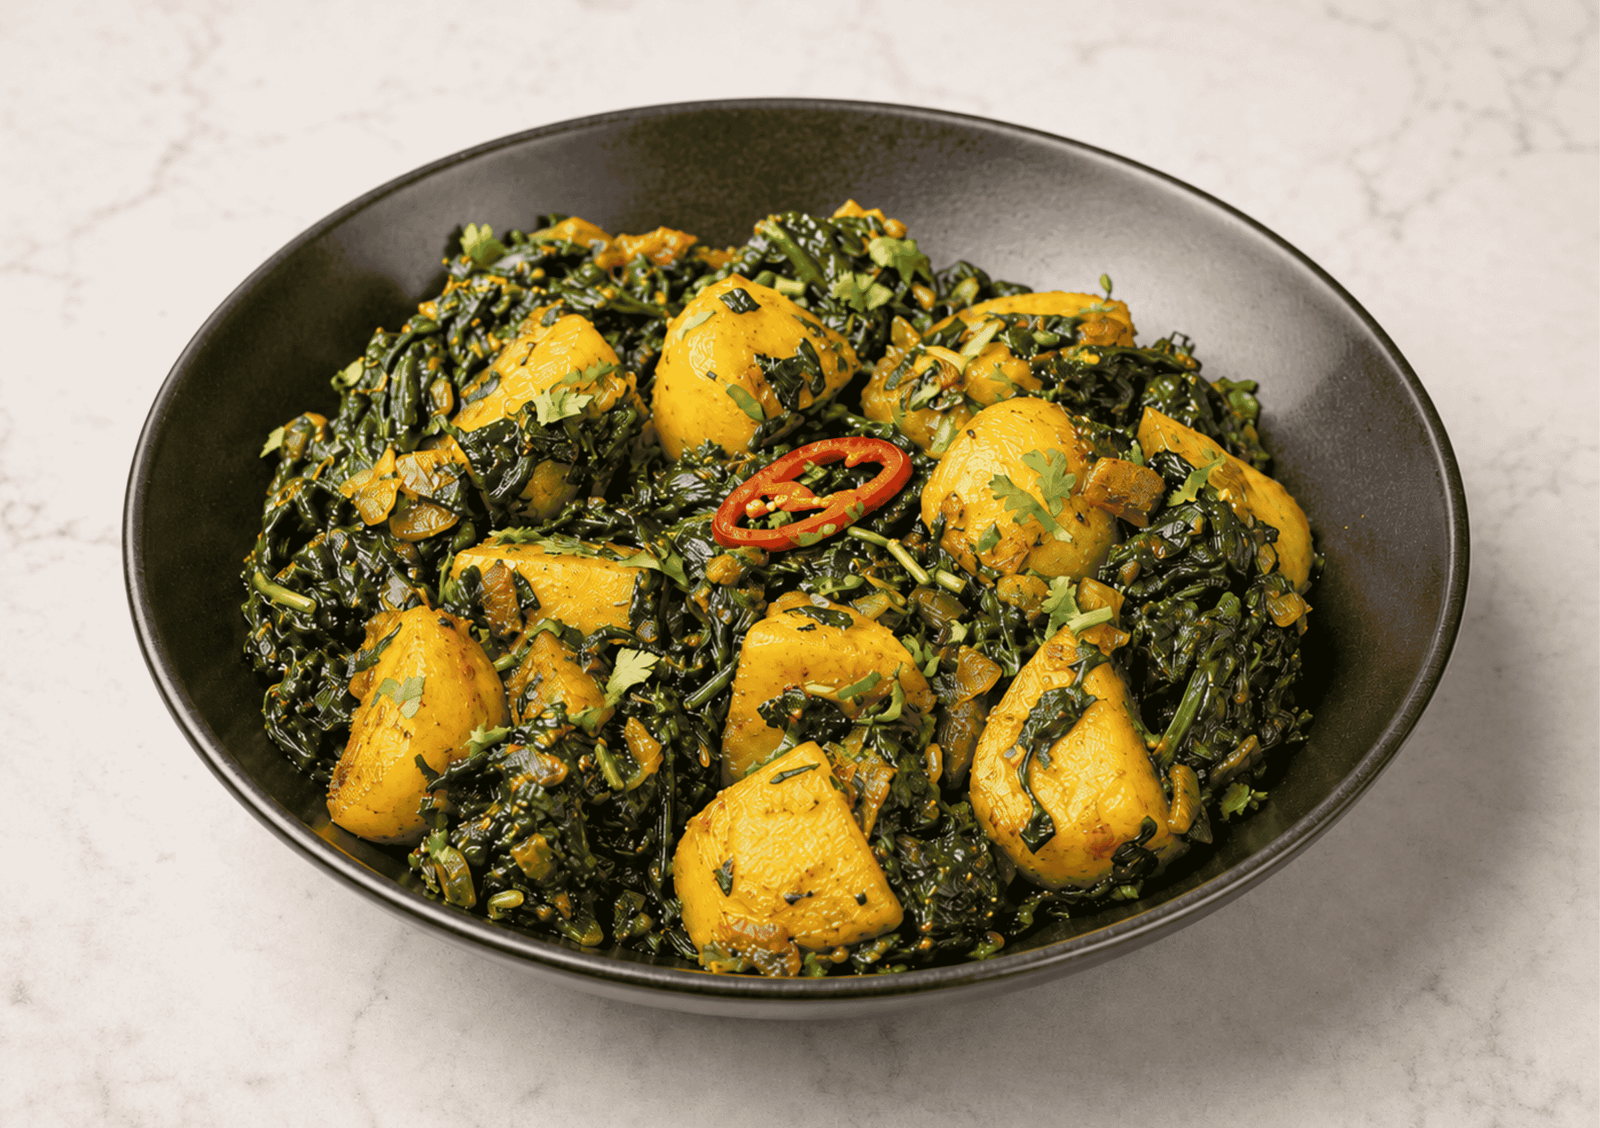
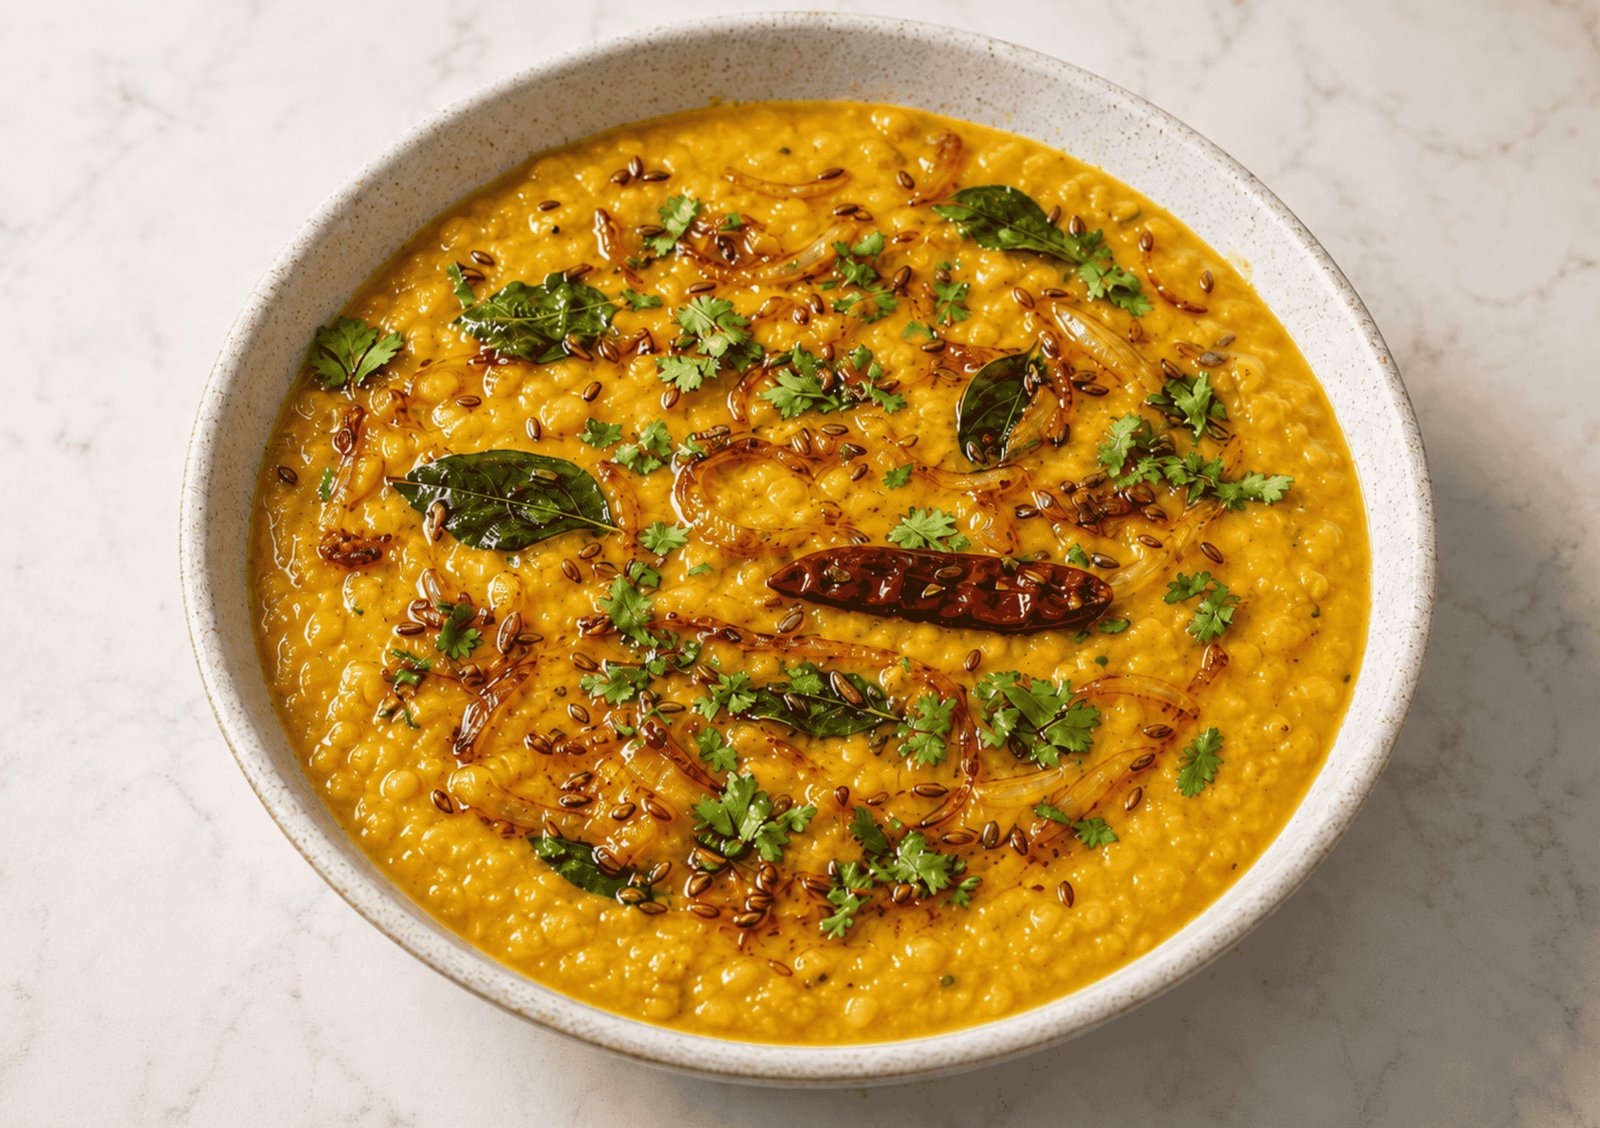
Parathas work well with thick curries because their layered texture can hold a substantial sauce. Serve them with chicken bhuna, lamb rogan josh, keema curry, saag paneer or dal makhani.
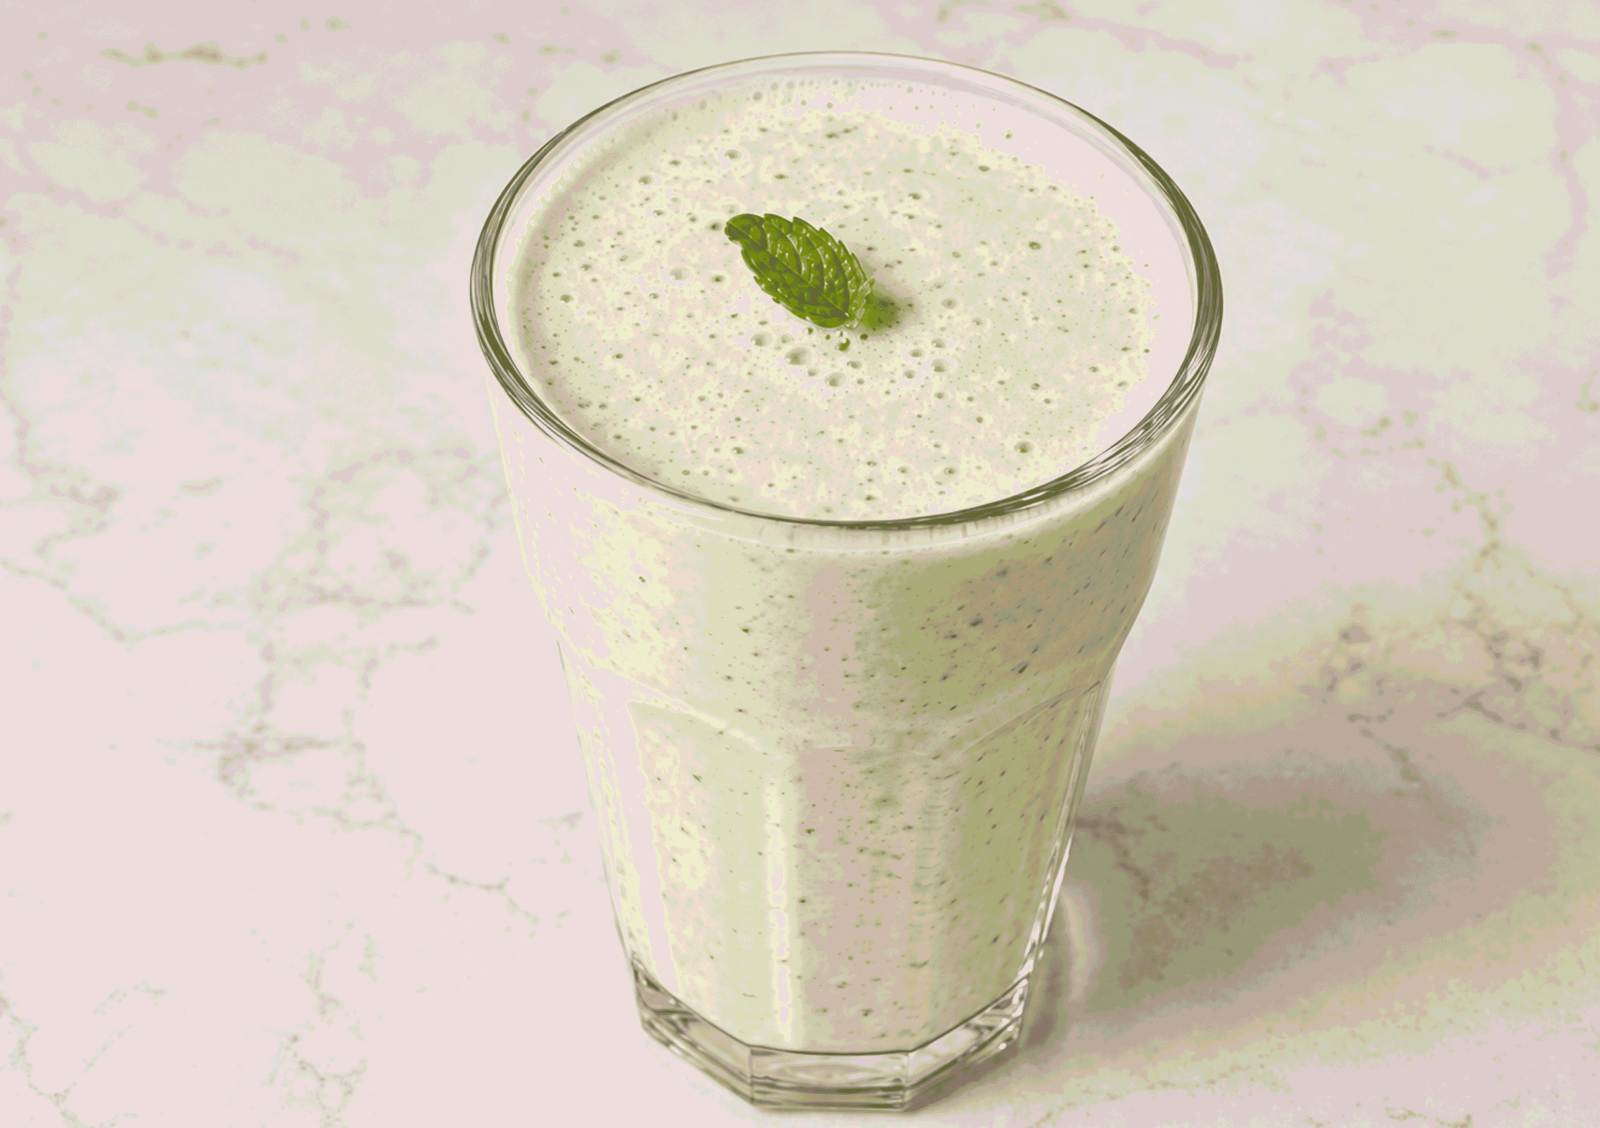
For breakfast or a lighter meal, offer them with plain yoghurt, pickle, cucumber raita or mint sauce. They can also be served with fried eggs or rolled around cooked kebabs and salad.
If you are preparing several breads for a curry night, choose paratha when you want the richest option, naan for a soft raised bread, or chapati for a thinner wheat accompaniment.
Can Paratha Dough Be Made Ahead?
The dough can be mixed, kneaded and refrigerated in a covered container for up to 24 hours. Bring it towards room temperature before rolling, as cold dough resists stretching and can crack around the edges.
You can also shape the dough into coils, arrange them in a covered container and refrigerate them overnight. Separate the coils with small pieces of baking parchment and lightly oil their surfaces to prevent drying. Allow them to soften slightly at room temperature before the final rolling.
How to Store, Freeze and Reheat Parathas
Cool cooked parathas completely before storing them so trapped condensation does not make their surfaces wet. Refrigerate them in an airtight container with baking parchment between each one and use within two days.
For longer storage, place parchment between the cooled parathas and freeze them in a sealed freezer bag for up to two months. Keeping them flat prevents cracking and allows you to remove only the number you need.
Reheat chilled or frozen parathas in a dry frying pan over a medium heat, turning several times until hot throughout. A very light brushing of ghee restores the surface. Avoid prolonged microwave heating because it can make the edges tough and the centre damp.

Homemade Layered Parathas
Ingredients
- 300 g medium chapati flour or atta plus extra for dusting
- ¾ teaspoon fine salt
- 1 tablespoon rapeseed oil
- 185 ml warm water plus up to 15ml extra if needed
- 60 g ghee melted, for layering and cooking
- 2 tablespoons plain flour for layering
Instructions
- Mix the chapati flour and salt in a large bowl. Add the rapeseed oil, then pour in 185ml warm water gradually while mixing. Add only enough extra water to bring all the flour into a soft dough.
- Knead on a clean surface for 7 to 8 minutes until supple and smoother. Lightly oil the dough, cover it and rest at room temperature for 30 minutes.
- Divide the dough into 8 equal pieces, approximately 62g each. Shape them into smooth balls and keep them covered.
- Roll one ball into a thin round approximately 20cm across. Brush it with about ½ teaspoon melted ghee and sprinkle over a small pinch of the plain flour.
- Fold the round back and forth into pleats about 1.5cm wide. Gently lengthen the folded strip, then wind it into a compact coil and tuck the loose end underneath.
- Repeat with the remaining dough. Cover all 8 coils and rest them for 10 minutes.
- Preheat a tawa or heavy frying pan over a medium high heat. Flatten one coil with your palm, dust it lightly and roll it into a round approximately 17cm across.
- Place the paratha on the dry hot pan. Cook for 45 to 60 seconds, until bubbles appear and pale brown spots form underneath. Turn it over and cook the second side for about 30 seconds.
- Brush the top with a little ghee, turn it and brush the second side. Cook for another 30 to 45 seconds per side until golden patches develop and the centre is cooked.
- Transfer the paratha to a clean tea towel and cover loosely. Wipe burnt flour from the pan as needed, then roll and cook the remaining parathas in the same way.
Notes
- The water requirement varies with the flour. Add the final 15ml only if the dough remains dry after mixing.
- Keep the dough covered whenever it is not being rolled.
- Use gentle pressure during the final rolling to preserve the laminated layers.
- Adjust the heat if the parathas colour before the centres cook or take longer than a minute to begin bubbling.
- Use rapeseed oil instead of ghee throughout for a vegan version.
- Stack cooked parathas under a tea towel and serve them warm.